If you are new to painting DIY, it can be hard to know where to start, where to get good advice or even what the right questions are to ask. We talked to some Resene experts on the most common mistakes decorators make and the best tips and tricks for success.

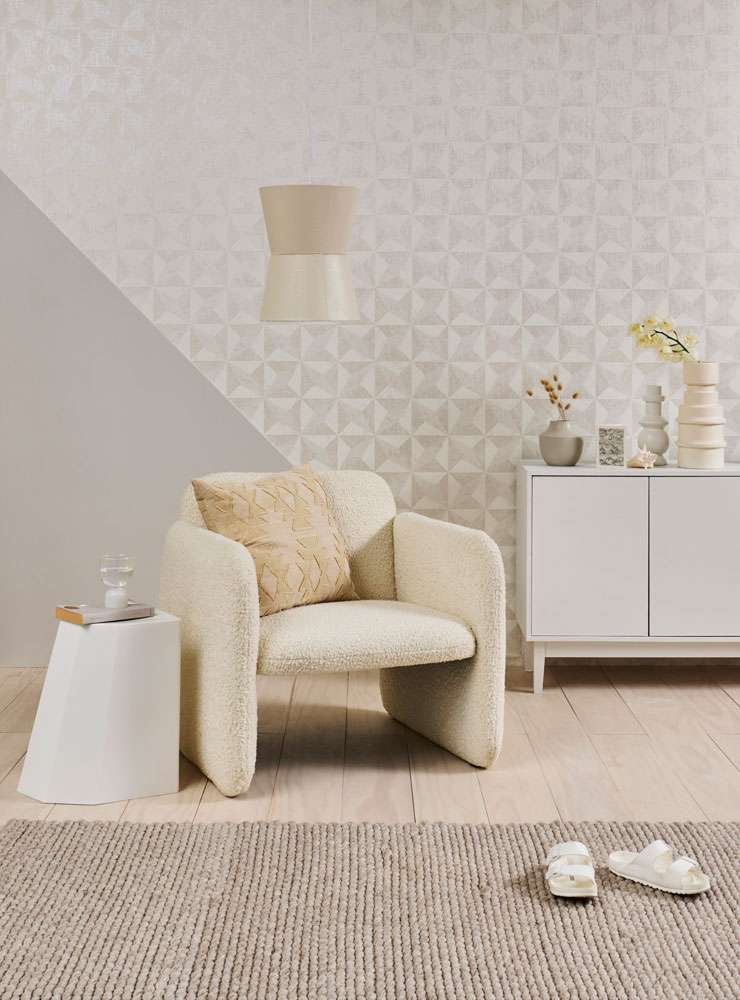
Never assume walls and door frames are straight when it comes to perfectly hanging wallpaper. Rear wall in Resene Wallpaper Collection 36001-3, against a diagonal shape painted in Resene Westar. Floor in Resene Colorwood Whitewash, sideboard in Resene Half Rice Cake, lampshade and tall vase in Resene Parchment, medium ribbed vase in Resene Black Haze and round vase in Resene Napa. Chair from David Shaw, stool from Everyday Needs, cushions from Places and Graces. Project by Kate Alexander, image by Bryce Carleton.
Rebecca Long
Start your property search
Resene Senior Architectural representative
● Make sure to give yourself plenty of time to complete your project and to include time to break and re-charge along the way. While it may be tempting to set yourself a tight deadline, your decorating project will be far more successful if you give yourself time to prepare your surfaces thoroughly and to enjoy the whole process.
● Seek professional advice and don’t hesitate to request a few quotes if you need help to tackle or finish a job. The industry is full of experienced people who have a lot of help and advice to offer.
● If you’re not sure if you should DIY or hire a professional, start by getting advice. Even if you’re not experienced, it may be a good opportunity to learn and gain a new skill. Your local Resene ColorShop can help you with DIY advice or sign you up to the Resene Find-a-Painter service, www.resene.com/findapainter, if you’re looking to hire a professional painter or wallpaper hanger.
● It is essential that you use the right accessories to complete your job. A quality roller sleeve makes a huge difference to the final paint finish.
● Most paint finishes are only microns thick and aren’t designed to fill holes and cover infections, so don’t be tempted to skip your preparations.

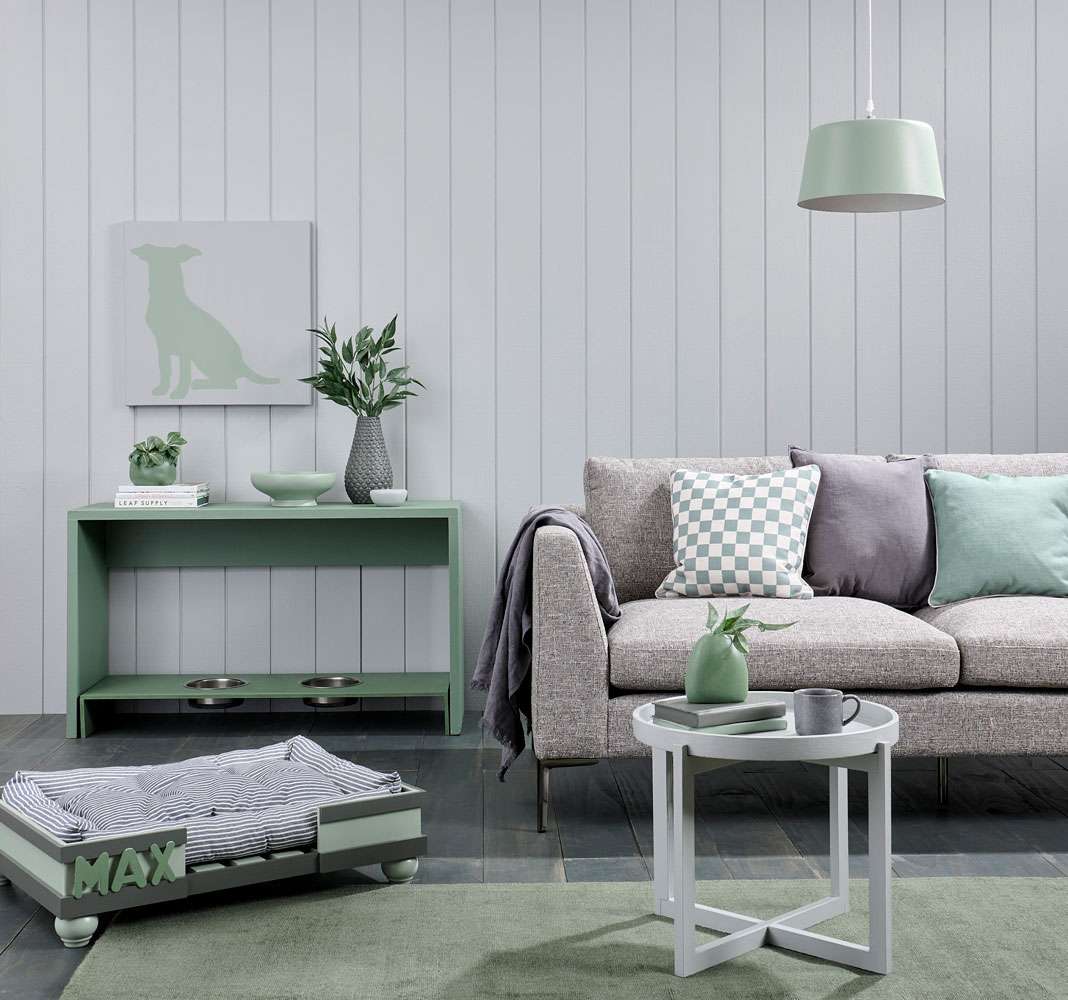
One of the most common mistakes home decorators make is skipping key preparation steps that will give them the best, long-lasting paint finish. Wall painted in Resene Silver Chalice, with floor in Resene Colorwood Shade, coffee table in Resene Half Stack with vase in Resene Rivergum, console table in Resene Rivergum with case in Resene Armadillo, bowl and pendant light in Resene Spanish Green and small planter in Resene Rivergum. The dog bed is painted in Resene Armadillo, Resene Spanish Green and Resene Half Stack with lettering in Resene Rivergum. Sofa and rug from Nood, throw and dog bed cushion from The Warehouse, cushions from Mocka. Project by Vanessa Nouwens, image by Bryce Carleton.
Flame Young
Resene Technical Support Manager
● Do lots of planning before you start. This helps reduce both errors and waste, and therefore helps keep unexpected costs down.
● Do your homework on all the materials you intend to use, make sure they are fit for your purpose and always follow the manufacturer's instructions.
● Always try Resene testpots of colour before you start. Colours can change dramatically in different lighting, which means they can look different in different rooms and at different times of the day.
● Make sure you are using the right type of paint for your project. It’s a good idea to refer to Resene’s recommended paint systems chart. As well as paint types, the chart covers off equipment you’ll need and the necessary preparation process. You can also find the chart in-store.
● Painting takes longer than you think, so allow plenty of time to do it properly, especially if you are doing it yourself. It will only take more time to correct any mistakes you’ve made by rushing to get your project completed.
Ashleigh Strange
Resene advice team
● Be realistic about your abilities. If you are new to painting, or any DIY projects, allow extra time. When you’re starting out, you’ll almost certainly make small mistakes you’ll have to correct, like sanding back paint drips, and giving those areas another coat.
● Prepare properly, even if it seems time consuming. Masking a room with tape does take time but you will get faster with practice. Allow a day to prepare by removing furniture and vacuuming. Then mask all your edges and lay drop sheets.
● To get a crisp straight line, remove your masking tape when the paint is almost dry, but before it is fully dry.
● Remember to unscrew light switches and remove light shades before you start.
● Don’t forget to repair holes or dents as part of your painting preparations. This can also take time as the filler often needs to dry overnight. Work this into your preparation days, not the days you have planned to paint.
● When painting don’t skip treating for moss and mould first. You might not think you need it but a lot of mould spores are not visible to the human eye. Leaving mould and moss on your surface can impact the life of your paint and your substrate, and in interior spaces, mould can have health implications. Allow 48 hours after application of Resene Moss & Mould Killer to achieve a full kill.
● If you’re painting in late summer into autumn, remember the days will get cooler earlier. You have a much smaller window to get your painting done if you’re not painting in the height of summer. Break your project into smaller parts to make it easier to keep track of progress.
● If you decide to use a professional painter, be sure to specify the name of the colour and the brand of paint you want. And make sure the painter sticks to this so you don’t end up with the wrong colour in cheap low-quality paint.
● Before your professional painter starts, make sure you’re both clear about who is responsible for removing furniture before starting, and removing any waste.
● If you decide you want to use a painter with sustainable, environmental practices, check out the Resene Eco Decorator programme to find one in your area.
● The other part of planning and preparation is to make sure you have the right materials and enough of those materials. Talk to experts, such as Resene ColorShop staff, who can talk through the details of your project and make recommendations based on your needs. Their experience and knowledge mean they will often have ideas or can foresee potential issues you may not have considered. They can prepare a project checklist for you so you don’t miss a step.
● If you can’t get into a store for expert help there are other places to try, including the Resene website (www.resene.com). This page on How to Paint Your Home is particularly helpful. The Masterstroke by Resene YouTube series, www.youtube,com/@masterstrokebyresene, is a great resource for practical advice to help you master your decorating project.

If you’re using masking tape for crisp edges, remove it off just before the paint is fully dry.
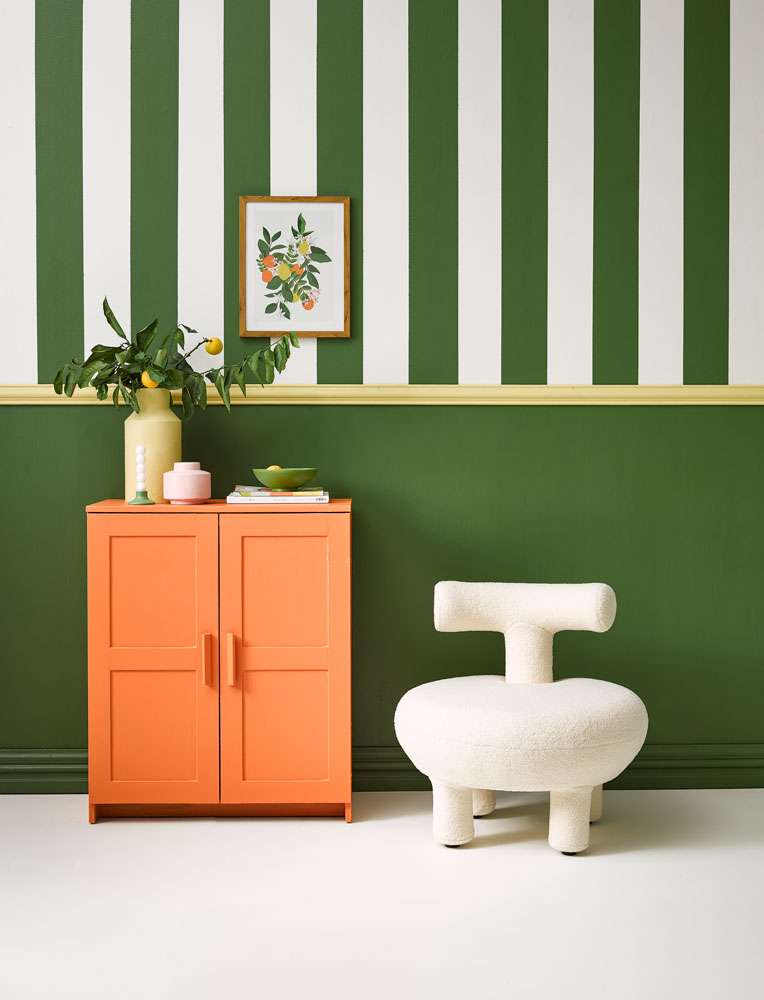
Striped wall painted in Resene Clover and Resene Rice Cake with the dado rail and large vase in Resene Chenin. Cabinet in Resene Smoke Tree, candleholder in Resene Dingley, bowl in Resene Green Leaf, small vase in Resene Paper Doll and floor in Resene Rice Cake. Chair from Danske Mobler. Project by Vanessa Nouwens, image by Wendy Fenwick.
More Resene top tips:
Painting:
● Between coats wrap your brush and roller in a reusable plastic bag to stop them drying out.
● Always wear the appropriate safety equipment for each project. This will typically include gloves, mask and goggles depending on your materials and your project. Check the product instructions and the manufacturer.
Wallpapering:
● Never assume, particularly when wallpapering and on older buildings, that windows and doors are straight, or that the height is the same all around the room. Always measure each drop for wallpaper and use your plumbline as a guide to get your drops straight, rather than a door frame or window.
● Don’t be tempted to hurry the wallpaper drying process with heaters. Force drying can cause the joins to lift. In cool unventilated rooms, wallpaper can take up to a week to properly dry.
Wood stains:
● Old, weathered timber tend to be quite dry and will absorb much more stain than new timber. If reviving an older fence or piece of furniture you may need to buy more stain than you expect. The first coat will absorb the most; you should use less on the second coat.
● Resene Colorwood Reducing Base can soften or stretch a full strength Resene Colorwood wood stain without losing the character of the original colour.
For help choosing products to suit your projects, visit your local Resene ColorShop, ask a Resene Paint Expert online, www.resene.com/paintexpert.


