The key is to have a clear vision and take the time to pick the right products
Sometimes the fear of getting a painting project wrong can be a roadblock to starting it at all. A little bit of pre-project homework can help allay your fears, boost your confidence and stop any worries about wasting money.
Here’s a quick guide to some common mistakes and how to avoid them.
How much paint do I need?
Start your property search

The amount of paint you need on your walls will be determined by the surface area, but also the spreading rate and the number of coats. Resene’s online paint calculator can help prevent over-ordering. This rear wall is painted in Resene White Pointer with the sidewall, bedhead, bedside table and vases in Resene Tangaroa. Floor finished in Resene Colorwood Breathe Easy. Bedding and rug from Bed, Bath & Beyond, lamp from Interior Warehouse. Project by Megan Harrison-Turner, image by Bryce Carleton.
Too much paint is typically better than not enough because, as Ashleigh Strange from the Resene Advice team says, you want to be able to allow for accidental spills or future touch-ups.
But you also don’t want to waste money by ordering far too much paint. To work out how much paint to buy, you need to know the total size in square metres of the surface area you’ll be painting.
For example, if you are painting four walls that are each three metres high and about four metres long, the surface area is 48sqm. However, for more accuracy, make sure to subtract the space taken up by doors and windows. If we say an average of half a metre of each wall is doors and windows, then your equation is (4 walls x 3.5 metres each) x 3 metres high, which equals 42sqm.
You will also need to consider the spreading rate of the paint you’re using, which can vary from paint to paint. You can find this information on Resene paint cans or download the online product data sheet from resene.com/datasheets. Finally, you will need to consider how many coats your surfaces will need. Two is standard but you may need more if your walls are in poorer condition.
Your paint equation is now the surface area divided by the spreading rate and multiplied by the number of coats required.
If that’s too much maths, the great news is Resene has an online paint calculator, resene.com/paintcalculator, to help you work out your quantities, or, as Ashleigh says: “You can rely on Resene ColorShop staff to help you estimate. Just remember to bring your wall measurements in rather than the ceiling area if you are painting walls.”
If you’re wallpapering, you need to multiply your wall height by the distance around the room. You can work out how many rolls you need with the Resene wallpaper table, or ask staff in store.
Most wallpaper rolls come in a standard width and length and it’s always a good idea to order one extra roll as a spare. You may also need slightly more wallpaper if you have a complicated pattern to match.
How do I get the best wallpaper finish?

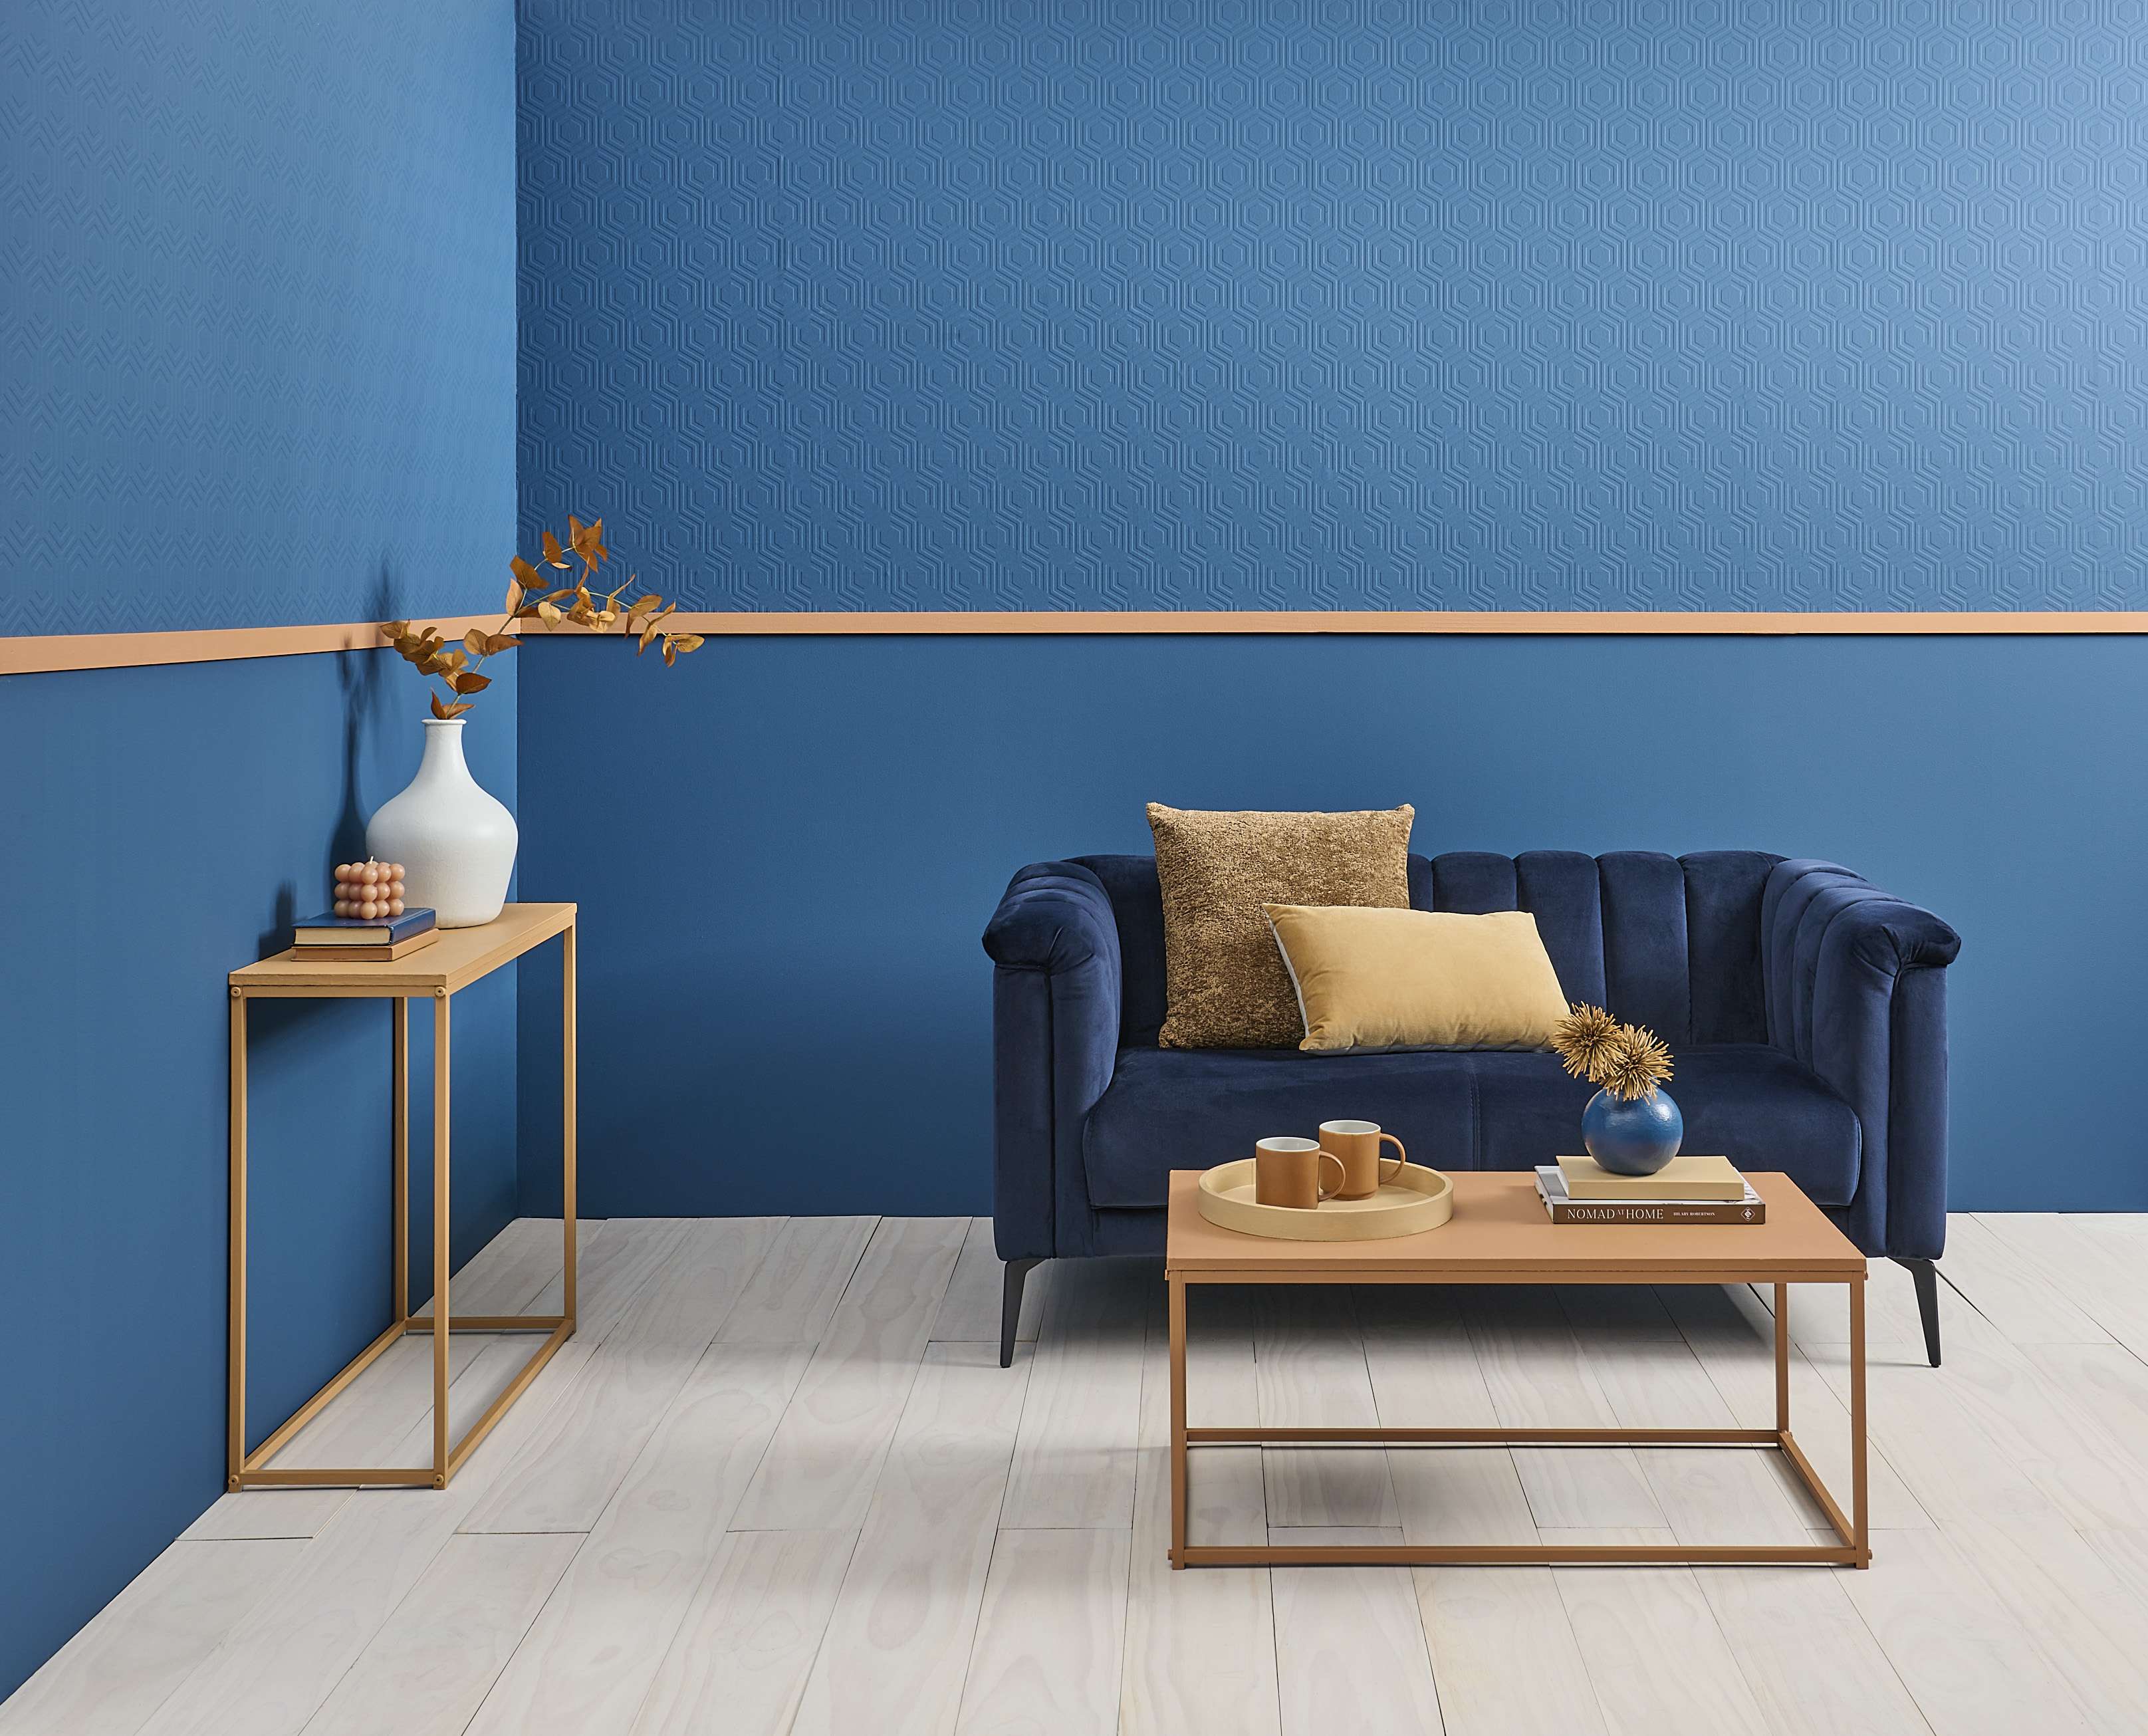
Choosing the right roller sleeve is important to get the right result for your surface. You’ll need a different roller for smooth walls than you would use for painting a textured wallpaper. Textured Resene Wallpaper Collection RD5671 has been painted with Resene Epic to add extra dimension to the colour. Dado rail and coffee table in Resene Toffee, console table in Resene Pendragon, floor in Resene Colorwood Breathe Easy, large vase in Resene Double Blanc, small vase in Resene Epic and tray in Resene Brown Sugar. Couch from Danske Møbler, mugs and cushions from Freedom. Project by Vanessa Nouwens, image by Bryce Carleton.
To get the best finished look from your Resene wallpaper the key, Ashleigh says, is surface preparation.
If the walls are already papered, this means removing the old wallpaper. Sand the surface whether it’s an old painted topcoat or new primer with 100 grit sandpaper to smooth the surface.
Dust the walls then fill any imperfections like dents, cracks, or holes with a sandable filler. Sand the filled areas then dust all the walls thoroughly again.
Top tip: If you see any signs of mould or mildew, such as discolouring, treat with Resene Moss and Mould Killer. And don’t forget to find and fix the source of the dampness so it doesn’t recur.
Ashleigh also recommends adding a coat of wall size which primes the wall surface and makes it easier to move drops of paper around while you line up the edges.
“It is also important to use the right type of wallpaper paste for the wallpaper you’ve chosen,” Ashleigh says. “Some papers require you to paste the wall, others require you to paste the paper.”
“Keep an eye on the room temperature, just as you would with painting. You need enough ventilation and warmth to allow the wallpaper adhesive to dry.
“Use a small bottle of wallpaper Shur-Stik adhesive to help stick down overlapping seams and corners when applying the wallpaper, and to re-stick any lifting edges over time,” she says.
Can I paint over a dark colour with a pale shade?

Spending time preparing walls is the best way to ensure your beautiful wallpaper looks amazing and lasts well. Here the walls are papered with Resene WallpaperCollection A55801. Try it with painted trim in Resene Rice Paper, accent pieces in Resene Black and flooring finished in Resene Colorwood Becalm.
“Absolutely,” says Ashleigh. If you decide to go bold in your room with a dark colour that you then decide you don’t like you can paint over it in a paler shade.
“Often, you’ll find two topcoats of a Resene colour will cover many dark shades, without the need for a basecoat. A Resene testpot is a good way to check for coverage.
“Depending on the exact colours involved, a white or grey base coat can help with coverage. Our Resene ColorShop staff can advise on this as it depends on what colours you’re using.”
Which roller sleeve should I use?
Using the right equipment for the job is important in getting the best results from your redecoration project, Ashleigh says. A good example of this is choosing the right sleeve for your paint roller. Some rollers are best for smooth plasterboard surfaces, others are designed to be more efficient on imperfect surfaces, and others are designed for irregular surfaces like textured plaster, cement, or embossed wallpapers.
“You wouldn’t want to use a sleeve designed for a highly textured surface on a smooth interior wall as, as well as unwanted texture in your finish, you will end up applying too much paint to the surface,” Ashleigh says.
“Also make sure you rinse your brand-new sleeves before applying the paint. This will remove any loose fibres so they don’t end up rolling onto your surface.”
The most popular DIY roller sleeves are available in three sizes. The larger 230mm is the most popular and is used for larger areas, including most walls and ceilings.
How do I choose bolder colours?
Muted shades often combine for more successful colour palettes than clear, bright colours as they’re softer on the eye. But take a closer look at the colours you think are ‘bright’, like a leafy green or mustard yellow.
They’ll often have blackened or greyed notes to them that ‘muddy’ the finish and make them quite versatile.
Try on-trend earthy tones like Resene Summer Rose, Resene Tarzan or Resene See The Light. Sharper brighter colours like Resene Now Or Never or Resene Wild Side work well as highlight notes against a monochrome or neutral background.
Resene colour experts can give excellent advice on colours that work well together and can often suggest some less common combinations that will help you step outside your comfort zone without regretting it later.
Other quick tips:
- If you have low ceilings keep your skirting and scotias the same colour as your walls. If you want a textural change, paint them in a semi-gloss Resene Lustacryl or gloss Resene Enamacryl. It will add visual interest without focusing attention.
- Don’t be tempted to add a Resene tint to a non-Resene paint. Resene tinters and paint are unique so only Resene paint will give you true colour rendition. Plus, Resene paints have additives and paint technologies to make sure your paint, and the colour it carries, has a longer-lasting better-looking life and is suited to the room you’re decorating.
- Test all your colours first using Resene testpots, ideally painted on to large pieces of card with a white border which means you can move them around the room to try different lights at different times of the day. Or you can use the Resene A4 drawdown paint swatches that are already painted for you.
The secret to avoiding mistakes in your painting or decorating projects is really just taking a bit of time to choose the right products and have a clear vision of what you’re trying to achieve.
If in doubt at any point during your project, stop and ask for help. Resene has experts available to help you with everything from prep and application to products and cleaning. Ask at your local Resene ColorShop, use the online ask a Resene Paint Expert, resene.com/paintexpert or call the free helpline for advice over the phone.
Watch Here:


