A beginner’s guide to painting and staining decks, fences and paths
Having outdoor features like paths, fences and decks are what give our homes street appeal and make a great first impression for visitors - or even potential buyers.
Done well they can be the final touches that elevate your home to being a place that not only looks great, but is practical and a pleasure to live in.
But where do you start with these outdoor features, to make them look their best and keep them looking best?
Start your property search
Wooden decks
An expanse of wood in the backyard can make it look glamorous as well as being highly functional. But a faded, mouldy deck with rickety slats, can make your whole house feel run down.
While a stain is often a typical way to finish or re-colour a deck, you can also use an oil like Resene Furniture and Decking Oil for a natural effect that will still protect the wood from the elements, though will need more frequent applications.
The first step in reviving an older, weathered deck is to check for loose boards, popped nails, as well as any signs of rot or decay, particularly around the joists.
Top tip: staining the underside and ends before fixing decking timber will help prevent rot.
Next, treat any moss or mould with Resene Moss & Mould Killer then give it a wash and scrub with Resene Timber and Deck Wash. Finally sand off any marks or bumps and wash well. Avoid using a water blaster as this can gouge the timber and make it wear out faster.
For pine or macrocarpa decks, stain with two coats of Resene Woodsman either in a natural shade such as Resene Woodsman Driftwood or try something different like Resene Woodsman Touch Wood. If you want your lighter deck to resemble the redder tones of Kwila try staining it in Resene Woodsman Cedar or Resene Woodsman Dark Oak. Experiment with shades that will work with the colour scheme of your house and fence.
For decks made from Kwila or other hardwood, use Resene Kwila Timber Stain. Leave new Kwila decks for 2-3 months before staining if possible. This allows the timber to open up and better accept the stain.
Top tip: If you’re building a new deck, face the ridged side of the decking timber downwards. The ridges are designed to let air circulate and the smooth finish on the top will make the deck easier to clean. If used facing upward as the deck surface, it may wear faster and start to splinter.
For a completely different look, you could paint your deck in a Resene Walk-on paving paint in a shade to complement your house. Resene Non-Skid Deck & Path will help ensure the surface is hardwearing and safe by adding a grit texture that will reduce the risk of slipping. If you have stairs consider apply this to the stairs and especially the stair edges.

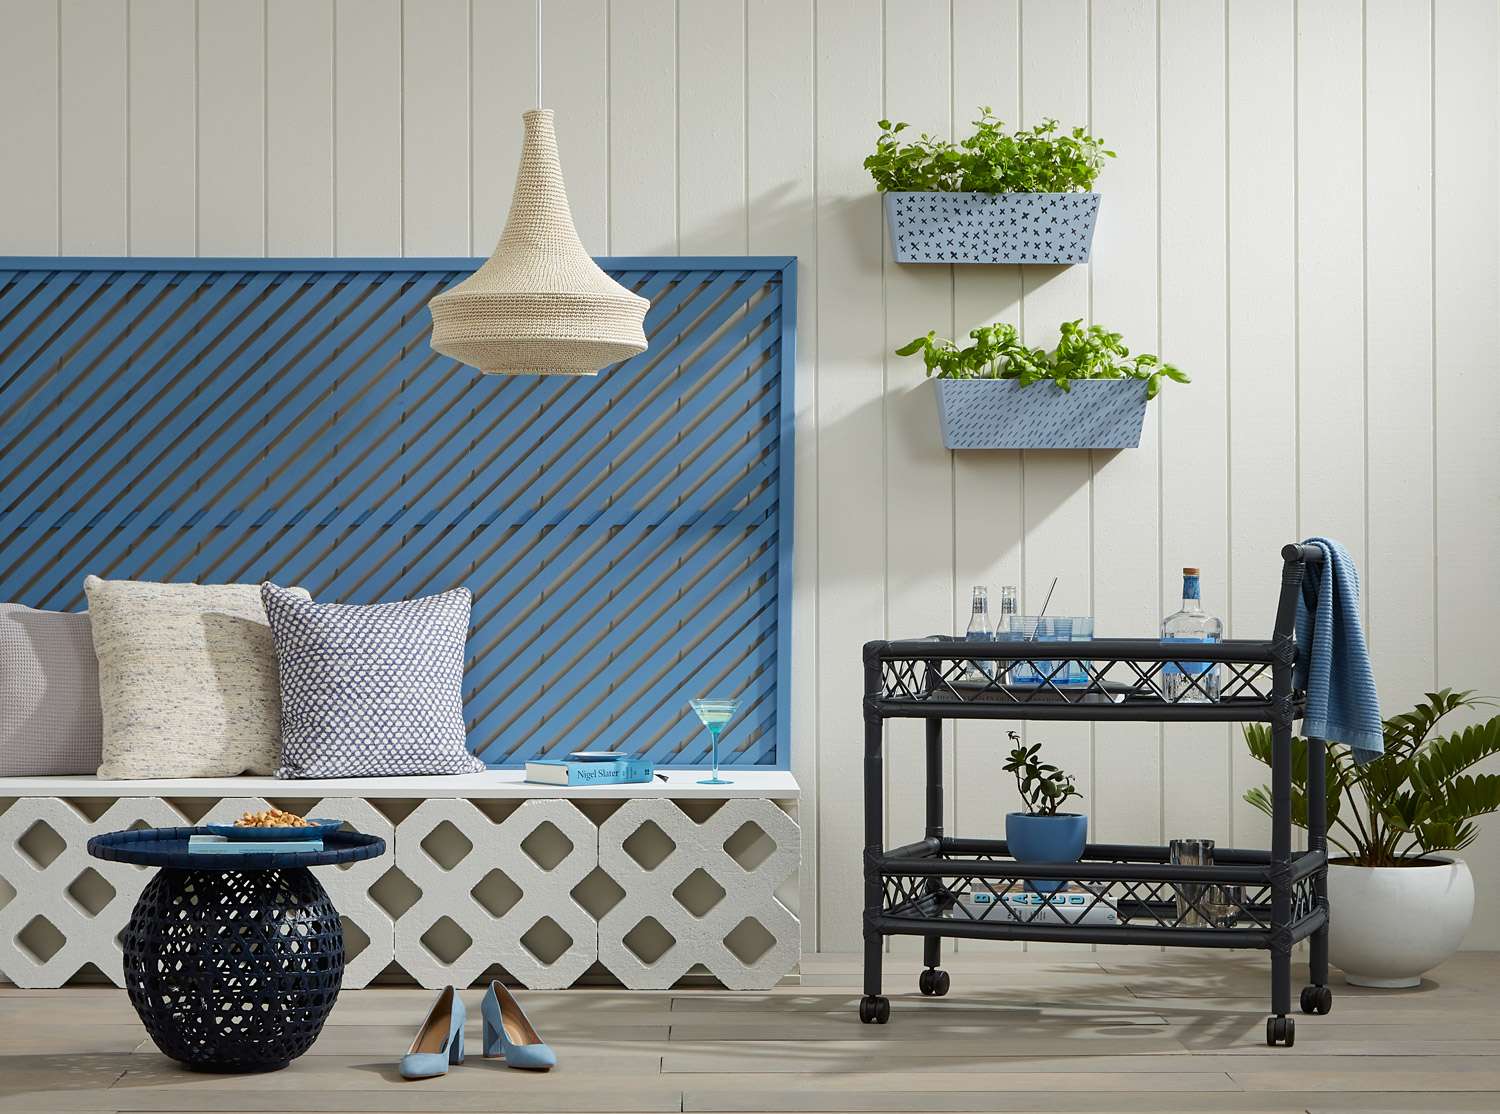
Concrete breeze blocks painted in Resene Triple Merino add a hardwearing point of interest against a deck stained in Resene Woodsman Tiri. The exterior walls are also Resene Triple Merino while then the same shade, with contrast from a batten screen in Resene Kashmir Blue. The trolley and table are Resene Indian Ink, the planter boxes are Resene Smokescreen with hand-painted dots and crosses in Resene Indian Ink. The plant pot is Resene Alabaster. Project by Kate Alexander. Image by Bryce Carleton.
Fences
A flaking or faded fence will make even the fanciest gardens look a little unloved. Luckily, touching up, repainting or re-staining a fence is a relatively straight-forward, fast job.
For wooden fences, give them a thorough wash with Resene Timber and Deck Wash after checking for any loose boards or unstable posts.
Then either stain or paint. It's a fairly simple job, so a good one to rope the whole family into helping with!
For a stain use Resene Waterborne Woodsman in a shade that will match your house exterior and garden. Darker colours, such as popular Resene Pitch Black wood stain, can help the fence recede and blend with plants so can be useful if you want your section to feel larger with less of an imposing boundary. If you have brightly flowering plants you might want to choose a shade that shows them off to best advantage.
You can also paint your wooden fence rather than stain, with any shade of Resene Lumbersider. On the upside a painted fence finish will likely last longer than a stained finish (which will probably need re-staining every couple of years). On the downside it may require more prep, including stripping the paint and sanding, when it does come time to re-do it.
If you’re planning to use a darker colour, opt for a Resene CoolColour, available in most Resene exterior finishes, to help reduce heat absorption.
To paint a corrugated iron fence, clean the surface first with Resene Roof Wash and Paint Cleaner using a stiff brush. Thoroughly rinse and leave to dry. Prime the fence then apply two coats of your chosen fence colour, allowing dry time between coats.
Top tip: If your fence touches the ground, place a piece of thin board or a paint drop cloth along the bottom of the fence to prevent soil from getting on the brush.

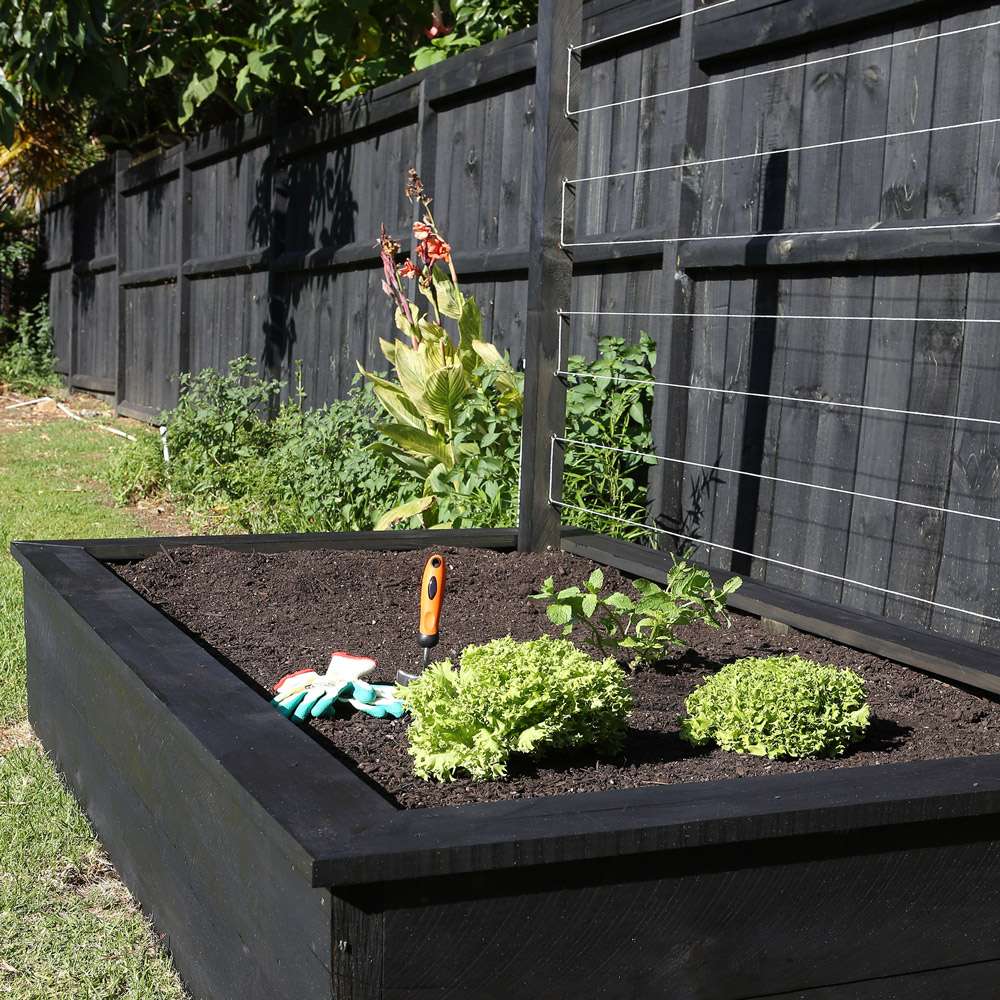
Match your raised beds with your fence to help your garden look tidy. Dark colours help make green foliage pop and can make gardens seem lusher. If painting or staining an exterior surface in a dark colour choose a Resene CoolColour, the special pigment technology reflects heat and helps keep dark surfaces cooler. This fence and raised bed are stained in Resene Waterborne Woodsman in Resene Treehouse. Project and image by Hirepool.
Paths and patios
Concrete or paved paths and patios can also be painted to suit your exterior design plans. The key things to consider in the finished result is that it’s hardwearing and non-slip.
To prepare the surface for painting treat any mould or moss with Resene Moss & Mould Killer. If the surface hasn’t previously been painted or there’s no paint you wish to keep, give it a waterblast to remove dirt and grime.
If you do want to preserve any existing paint, don’t waterblast. Instead wash with Resene Paint Prep and Housewash, allow to dry then seal. Paint with two coats, using a product like Resene Walk-on paving paint or Resene Non-Skid Deck & Path. Available in a wide range of colours it’s designed to make sure the finished surface can stand up to all that walking over it and will remain safe in wet conditions.
Top tip: If you’re painting new concrete make sure you have left up to 28 days for the surface to fully cure before painting. Resene Limelock can speed up this process so you can start painting sooner.

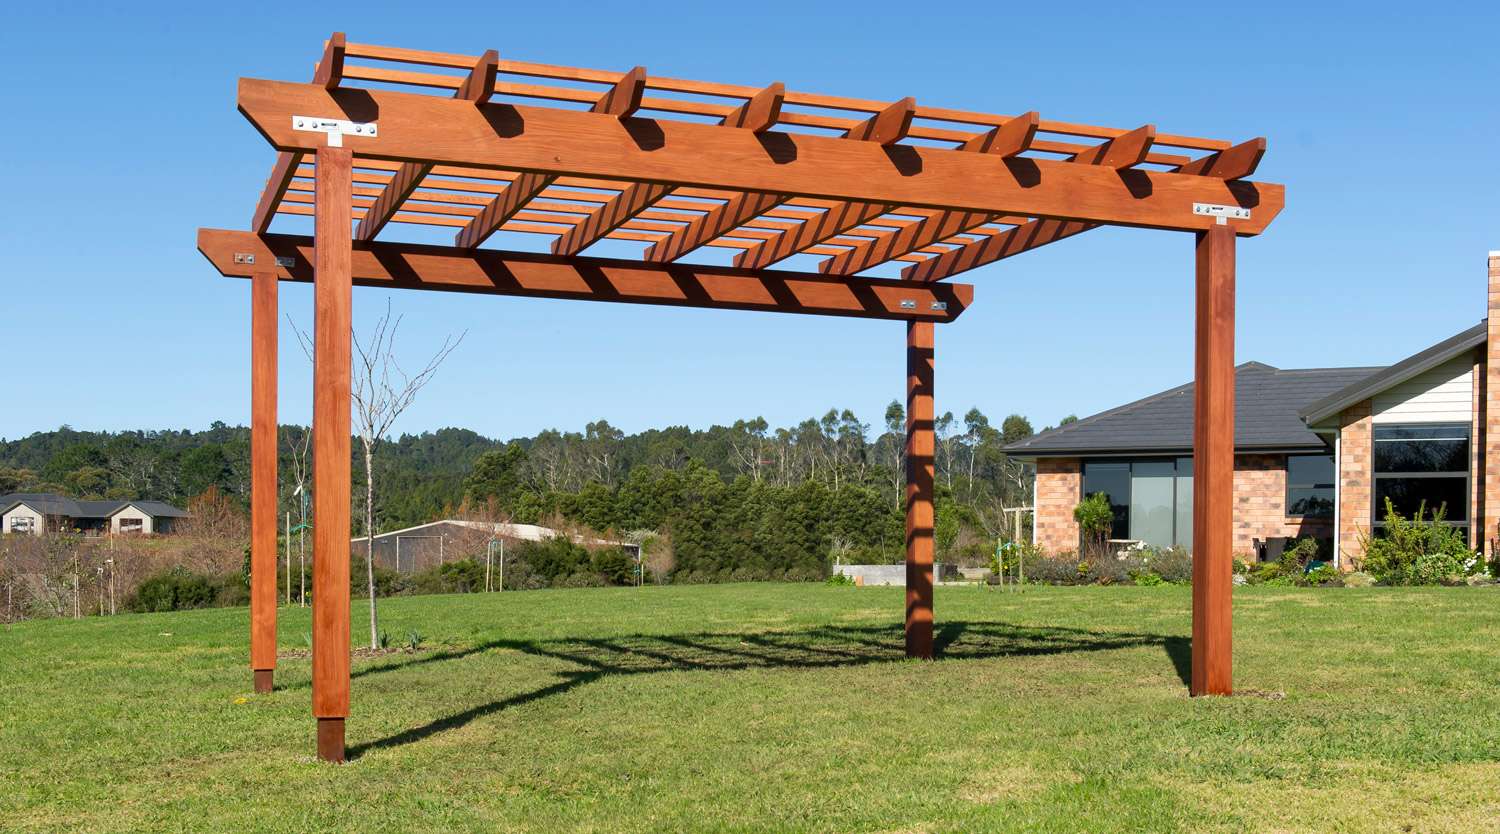
Pergolas can transform your outdoors space. They are a good way of connecting indoor and outdoor spaces and are ideal for climbing plants such as roses, jasmine and grapevines. For a natural look to showcase the natural beauty of time, choose a Resene Waterborne Woodsman wood stain. This pergola is stained in Resene Woodsman Cedar for a warm striking look, which is still soft against the landscape. Project by Nick and John from Nick Devcich Construction Ltd. Image by Mark Heaslip.
When to use a sprayer
Get the right tool for the job. Usually there’ll be a choice between airless sprayers or high volume low pressure sprayers (HVLP).
The size of your project and where you’re painting will play a part in which sprayer is best for you.
Generally speaking airless sprayers are good for outdoor applications like fences and decks. They can generate overspray to ensure anything you don’t want painted is covered.
Make sure you have power available.
Check the paint specification to ensure it is suitable for spraying. Many sealers, primers and paints are best applied by brush on surfaces such as weatherboards to ensure that they are worked in and well adhered to the surface.
Do a test run first to get used to the flow and direction of the paint spray.
Prep as you would normally, there’s no shortcuts there!
Wear the right safety gear - respirator, goggles and gloves.
For most DIYers, a paintbrush will be the preferred option for areas like fences and weatherboards, with rollers ideal for large smooth areas or rendered areas. Check with your Resene ColorShop staff for the right application tools for your project.
Check out the Resene how to videos, www.resene.co.nz/videos, to hone your exterior painting techniques before you get started.


